Tutorial and Styling by Lindsey Crafter
Photography by Laura Barnes Photo
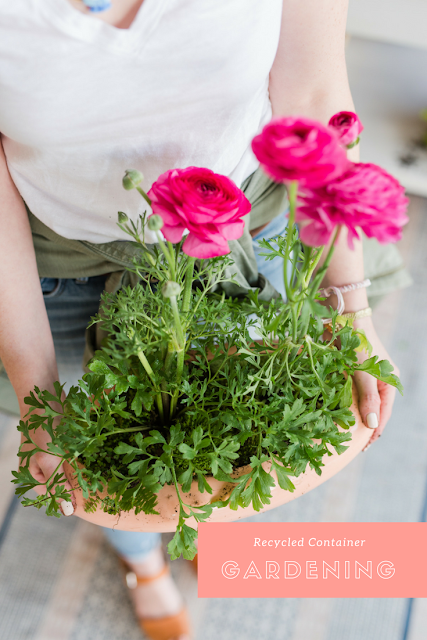
'Tis the season for pollen and beautiful blooms! See my tips for planting in up-cycled containers below. As for allergies, you're on your own!
Needed For This Project
Assorted seasonal plants (annuals + perennials)
Gravel or Clay Pebbles
Garden Soil
Water + Spray Bottle
Thrifted containers (mixing bowls, strainers, large jars and other vessels.)
Choosing Containers
I try to swing by thrift stores weekly (that's my secret for amazing finds) so I have QUITE a lot of cool vintage containers in my prop stash. For this project I tried to find vessels large enough to hold a few varieties of plants without crowding, but I'll also show you how you can make an impact with a single bloom in a jar!
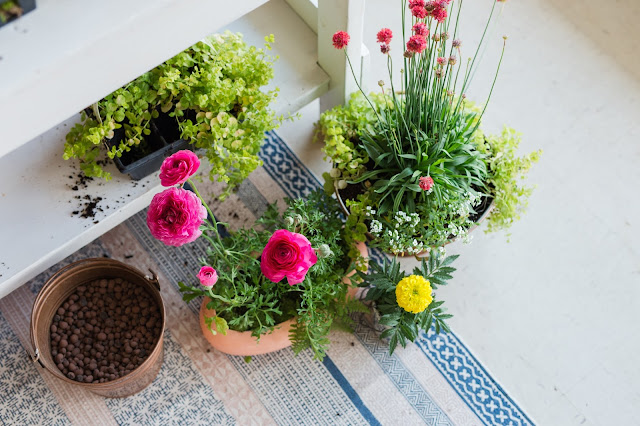
When planting in containers not necessarily meant for planting the main issue is drainage. Water will sit in the base of the container overtime and cause roots to rot and allow annoying gnats to propagate--killing your plants. If your container is made of plastic, resin or wood you may be able to drill a few drainage holes in the bottom with a small drill bit. Metal, glass and ceramic containers will require a few inches of gravel, or my personal preference--lightweight clay pebbles, in the bottom to create enough drainage to keep moisture balanced in your plants.
This Columbine plant (Perennial) was extremely root bound when removed from it's plastic cell-pack. This is why it's important to choose larger containers so your plants can grow!
Choosing Plants
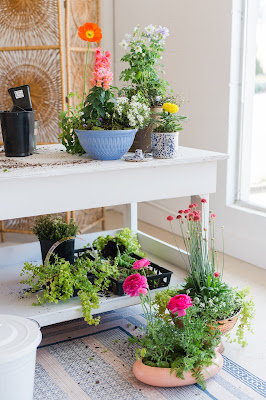
Ranunculus and poppies were available at my nursery for a short time even though their blooming season is almost over, and I was even able to grab a few frostbitten annuals on clearance for this project! When choosing plants find varying heights and foliage textures to add levels to your container gardens, I like to arrange them on my cart prior to purchasing so I can be sure I have the proper combinations of scale, color and texture. Just remember when purchasing plants and flowers some have a different life-cycle than others --
Planting + Dividing
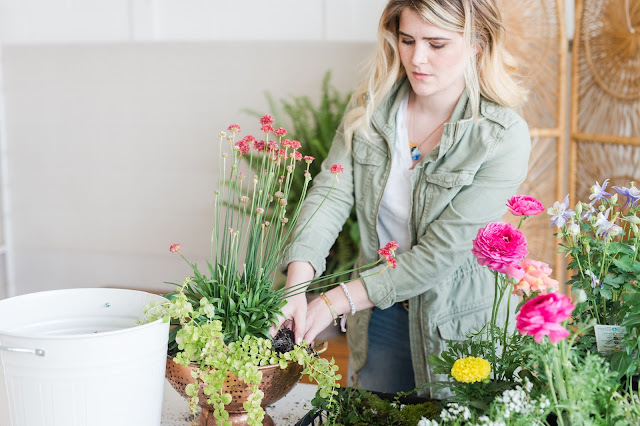
Make sure the root ball of your plant sits at least an 1" below the top of your container, you don't want the roots to become exposed over time with watering. Leave room around the sides for planting trailing flowers or vine-y foliage for added texture. Fill in gaps with dirt ( I find using my hands is easiest) and water thoroughly.
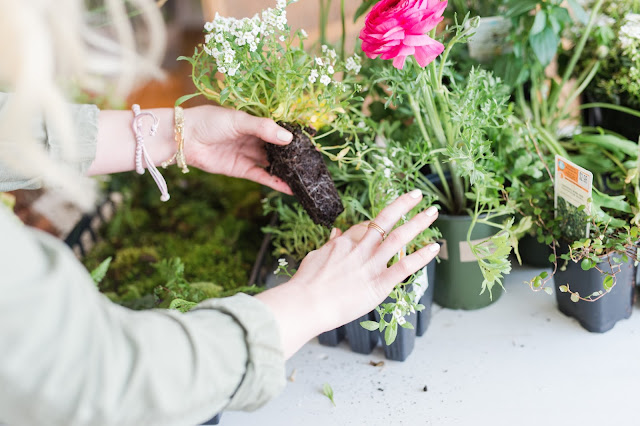
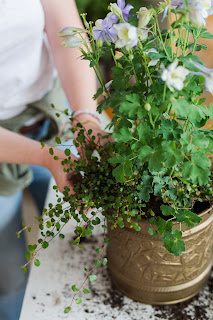
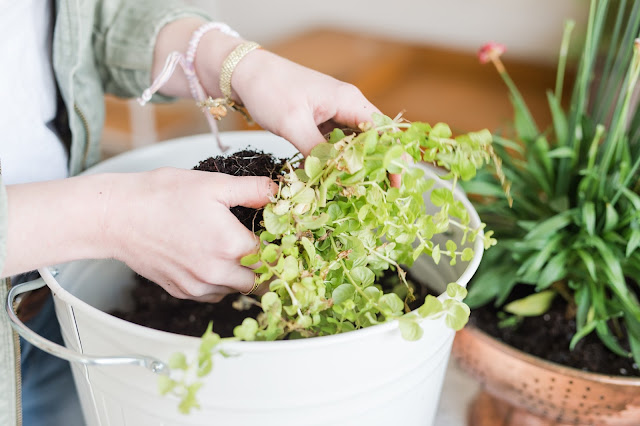
Creeping Jenny can be easily divided and distributed throughout pots. It tends to grow very long and trail off pots giving them a whimsical look. After a few weeks it can fill out quite nicely without having to invest in quantities of it. Examine the base of your plant to see if there are sections you can pull apart easily, don't worry if you feel like you're ripping the roots.
Style with These (Affiliate Links)
This copper strainer is PERFECT for planting because it has built-in drainage!
Note the amazing rattan room divider I found at the dump a couple weeks ago !!!
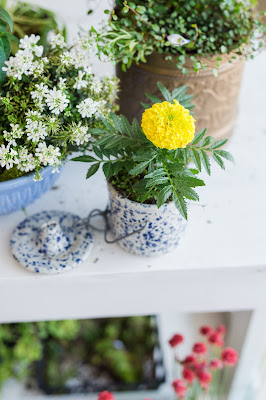
Marigolds are pretty inexpensive and can usually be purchased in value packs. Plant a single bloom in a jar and gift it to brighten someone's day for under $5! Just remember to add a handful of gravel to the bottom of the container for drainage.
I like harvesting local mosses, ferns and violets to fill in the dirt around plants. This helps retain moisture and looks a bit more "landscaped" than exposed topsoil.
Remember : Overwatering and poor drainage is the #1 killer of plants! After planting I like doing an initial watering followed up by a spritz with a water mister to remove dirt from plant leaves and blooms.
Have any tips for planting in containers and prolonging the life of blooms? Let us know in the comments below!
xo Lindsey Crafter
Photography by Laura Barnes Photo








Post a Comment