7.29.2016

Darling Indoor Gardens

Are you a crazy plant lady? Do you think you know someone who might be a crazy plant lady? Well there's help: adorable indoor gardens you can make yourself. I've rounded up my favorite herb planter ideas for all urban gardeners. See sources below the photographs!


I love this precious pegboard situation by Sweet Paul. I think it would look adorable with mismatched mugs from goodwill.


Delightful drawers found on The Garden Love


I love the idea of using a trellis to occupy a narrow wall -- by the lovely magician Mandi over on Vintage Revivals


I love how Justina from The Jungalow styled this hanging basket from World Market -- I'm doing this one for sure. 


How great is this wire version of a trellis planter with Ikea kitchen organizers as the planters?  Project by Lana Red Studio

Have a indoor garden project you'd like to add to the list? Link it below and I'll add it to the roundup!

xo Lindsey Crafter 


7.28.2016

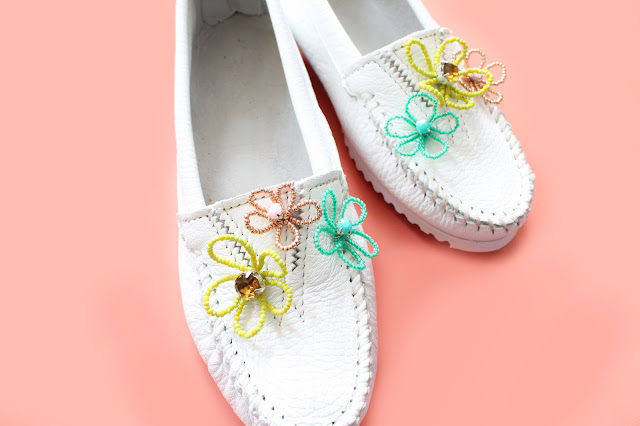
Floral Beaded Moccasins With Minnetonka

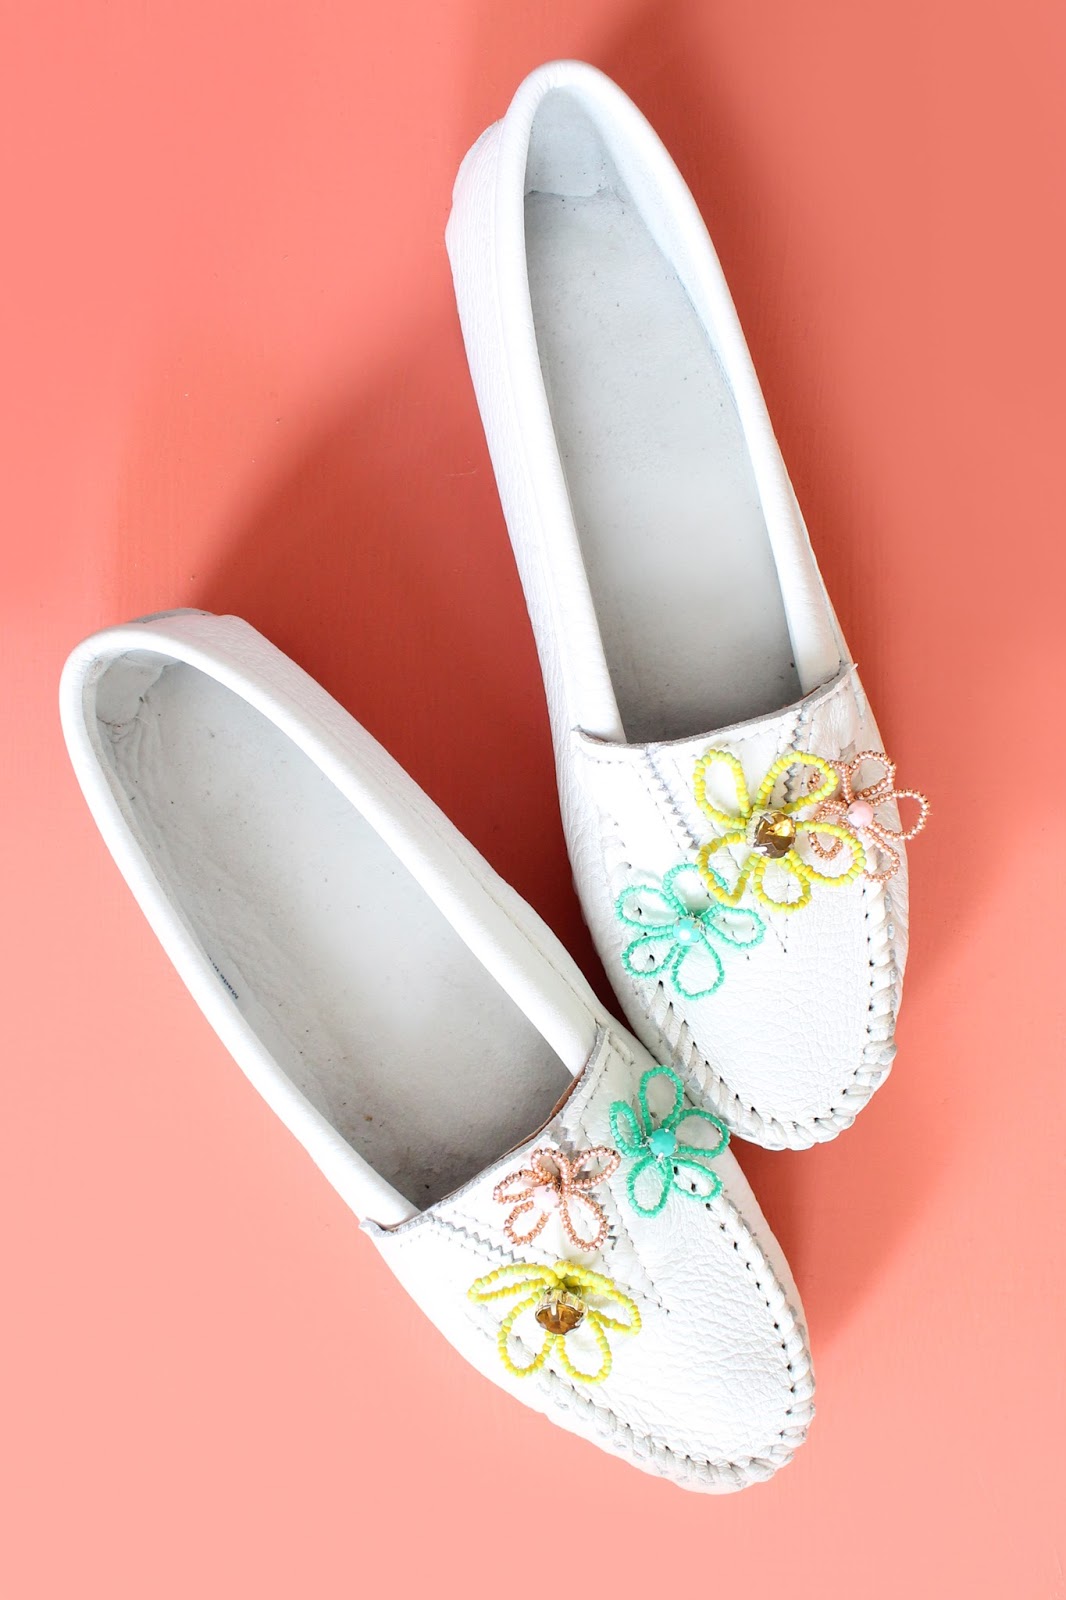
Make Floral Embellished Moccasins

I haven't had that much luck with my garden this season...THANKS SQUIRRELS. I've had to replant our window boxes twice and NOTHING is flowering. What am I doing wrong?! Instead I've decided to focus my energy on the types of flowers I can make grow--faux! I've partnered with Minnetonka to share how I made these sweet beaded flowers and added them to a pair of their classic slide on mocs! 

Make Floral Embellished Moccasins

Make Floral Embellished Moccasins

Here's What You'll Need

28 Gauge Jewelry Wire
Several Colors of Seed Beads
Sew on Set Rhinestones in Various Colors
Round Nose Pliers
Wire Cutters
E6000 Glue
Deerskin Gore Front Mocs

Make Floral Embellished Moccasins

Make Floral Embellished Moccasins


Click through to see the steps! 

This project was graciously sponsored by Minnetonka Moccasins. All ideas and content are my own. Thanks to the brands that keep Lindsey Crafter craftin'.

7.25.2016

Olive Oil Ice Cream

This post is in partnership with World Market, my favorite stop for specialty foods and home decor. All opinions are my own.

Make Olive Oil Ice Cream

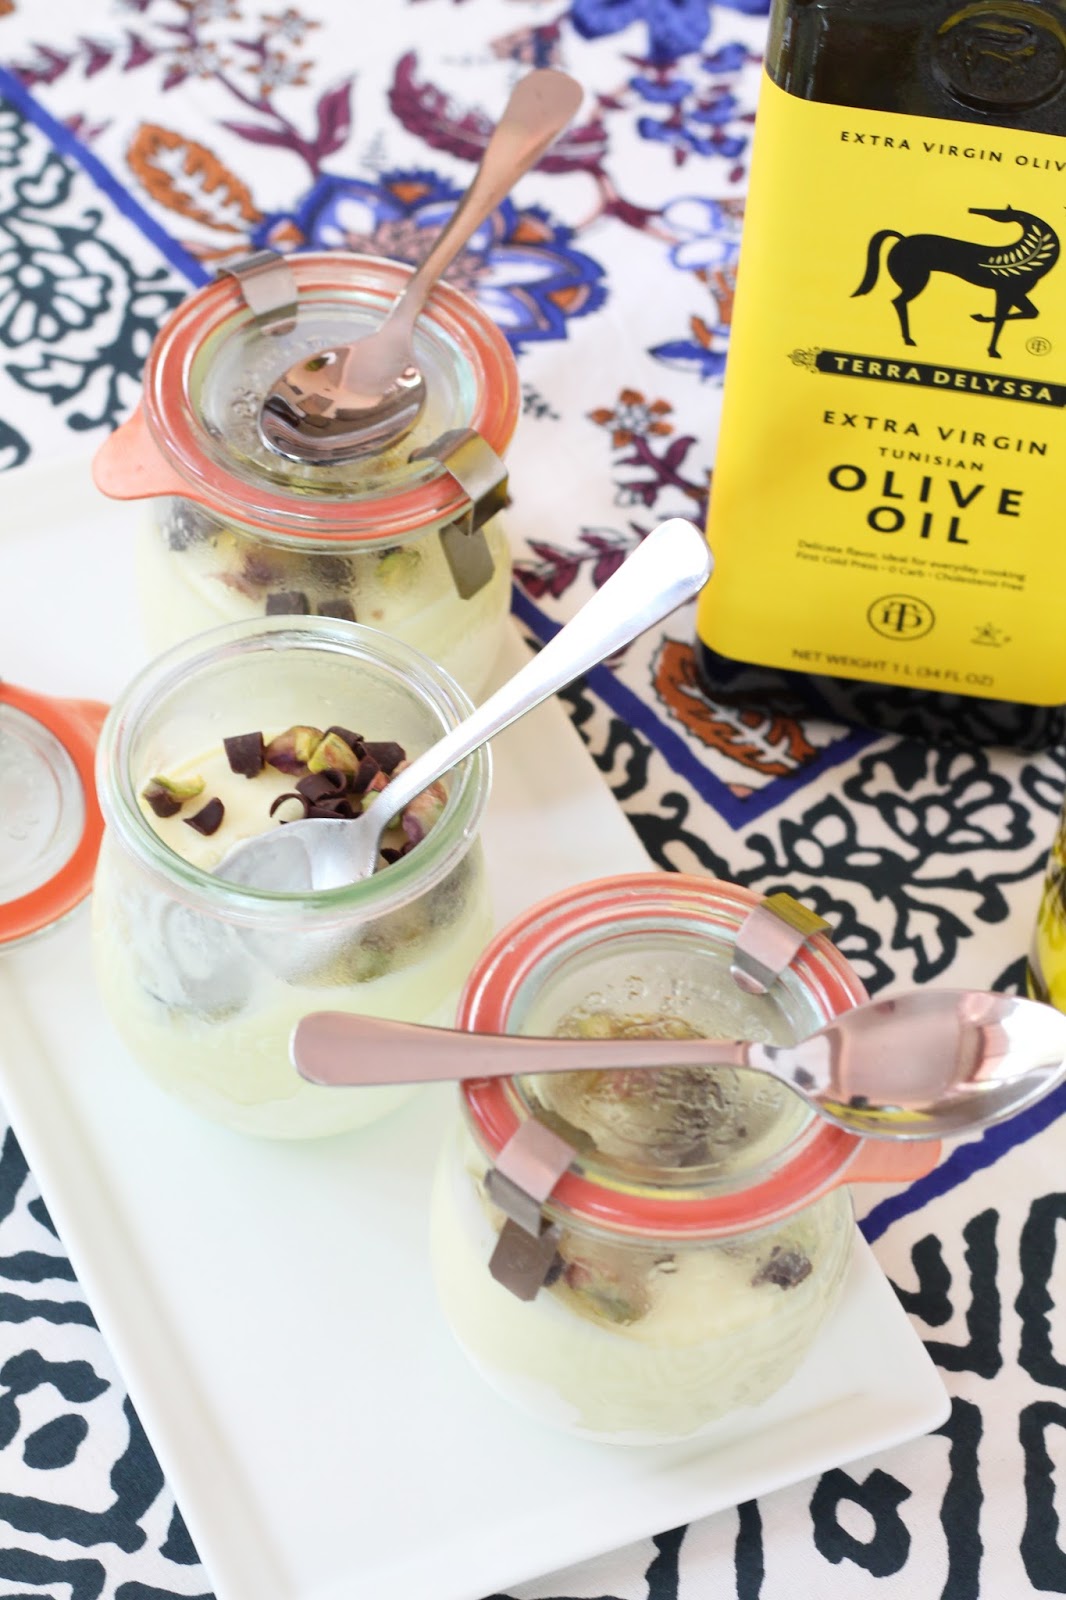
I'm on our first vacation in FIVE YEARS. We packed up our beach chairs and pup and hiked (drove) down to Hilton Head to meet my mother and siblings halfway for some fun in the sun. My family is extremely partial to sweet treats--ice cream in particular--so I thought I'd whip up a version of a dessert from my favorite Italian restaurant to help us cool off : Olive Oil Ice Cream.

Make Olive Oil Ice Cream

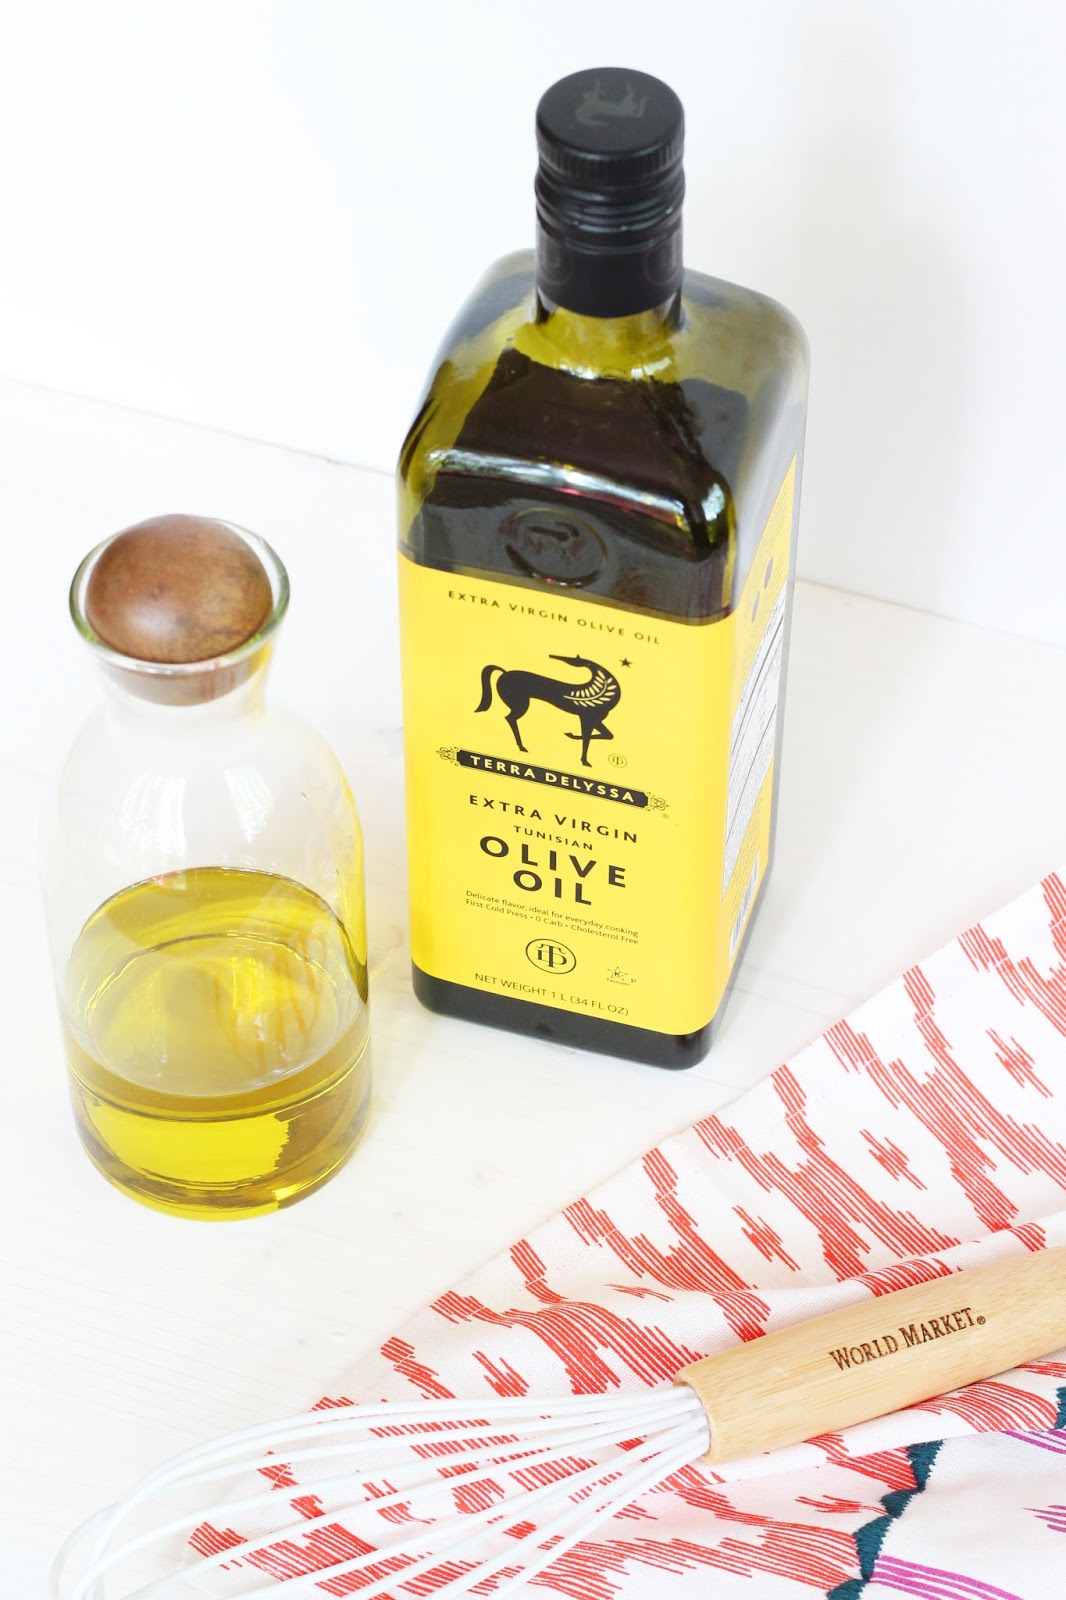
Now I know what you're thinking--Olive Oil?! Like for bread? Here's the thing-- olive oil has a bright and subtle flavor that pairs WONDERFULLY with sweet dishes. I used this extra virgin olive oil from the International Food Brands section at World Market along with some sugar and cream to whip up a delicious olive oil ice cream in my own kitchen! See how I did it below.

Make Olive Oil Ice Cream

Ice Cream Ingredients
1 cup sugar
1 1/2 cups heavy cream
3 cups whole milk
1 tsp. salt
4 large egg yolks, beaten
1/2 cup extra virgin olive oil

For Cones
1 cup of shelled and chopped pistachios ( I used these)
chocolate curls ( I used these)
1 cup melting chocolate for dipping cones
waffle ice cream cones

Tools and Gadgets
medium saucepan
measuring cup and spoons
ice cream maker
wax paper
large dish with lid for ice cream

Make Olive Oil Ice Cream

For the Ice Cream 

Combine sugar, milk and salt in a medium saucepan and simmer on low heat, whisking constantly to dissolve the sugar. Lower heat and gradually add in heavy cream. Remove from heat and add in egg yolks, whisking to incorporate into the mixture. If you don't temper the eggs into the mix properly (heat them up/cook too quickly) your ice cream will have an "eggy" taste that overpowers the delicate cream and olive oil--so be patient! Add in vanilla and olive oil and return to low heat whisking until thick. Allow the custard to cool in an ice bath or the fridge before churning. Transfer the mixture into an ice cream maker and complete using the recommended churn times directed by the manufacturer.

Make Olive Oil Ice Cream

Store your olive oil ice cream in the freezer in a covered dish or serve immediately! How cute is this ceramic baking dish with wood lid that I picked up at World Market!

For the Cones 

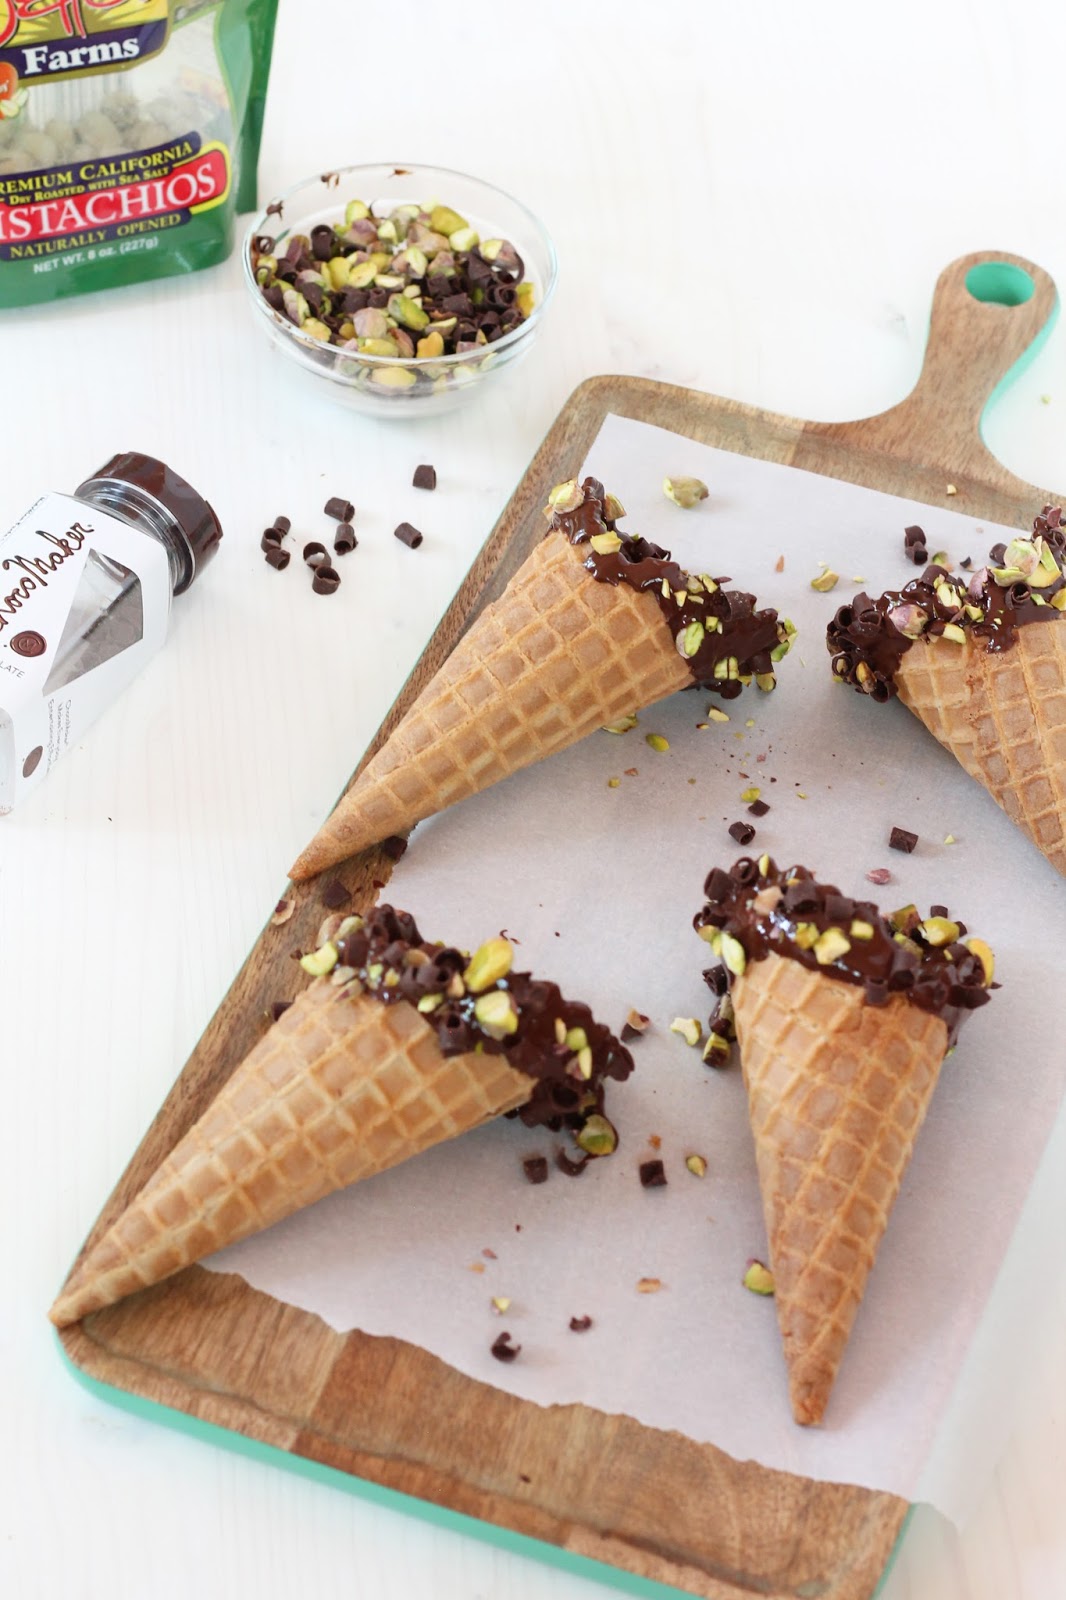
Melt the dipping chocolate in a double broiler or in the microwave, stirring occasionally. Line your work surface with parchment or wax paper. Transfer your chopped pistachios into a medium sized bowl along with some ChocoMaker Dark Chocolate Curls for dipping. Dip each cone into the melted chocolate and then into the chopped nuts to coat. Place on the wax paper while you wait for the chocolate to cool.

Make Olive Oil Ice Cream

Make Olive Oil Ice Cream

Here's another idea!

Make Olive Oil Ice Cream

After churning your ice cream--transfer single-sized portions into small glass jars for serving. Dinner guests will LOVE the presentation of a handmade confection served in such an adorable container. I found these classic Weck jars and small dessert spoons at World Market.

Make Olive Oil Ice Cream

Have you found any unusual or uncommon ingredient pairings you love?! I've seen some very interesting dessert and cocktail recipes with Sriracha lately. Be sure to check out World Market's International Favorites for other great recipes to try this summer!

xo Lindsey Crafter

Taste%20of%20the%20World%20Sweeps Bring a Taste of the world home! Enter America’s Test Kitchen’s Taste of the World Sweepstakes for a chance to win $5,000+ Grand Prize including a gift card from Cost Plus World Market. Enter now! http://bit.ly/29AO2eY

This is a sponsored post by Cost Plus World Market. All ideas and content are my own. Thanks for supporting the brands that keep Lindsey Crafter going!

7.08.2016

Embroidered Baseball Hat


Make an embroidered baseball hat

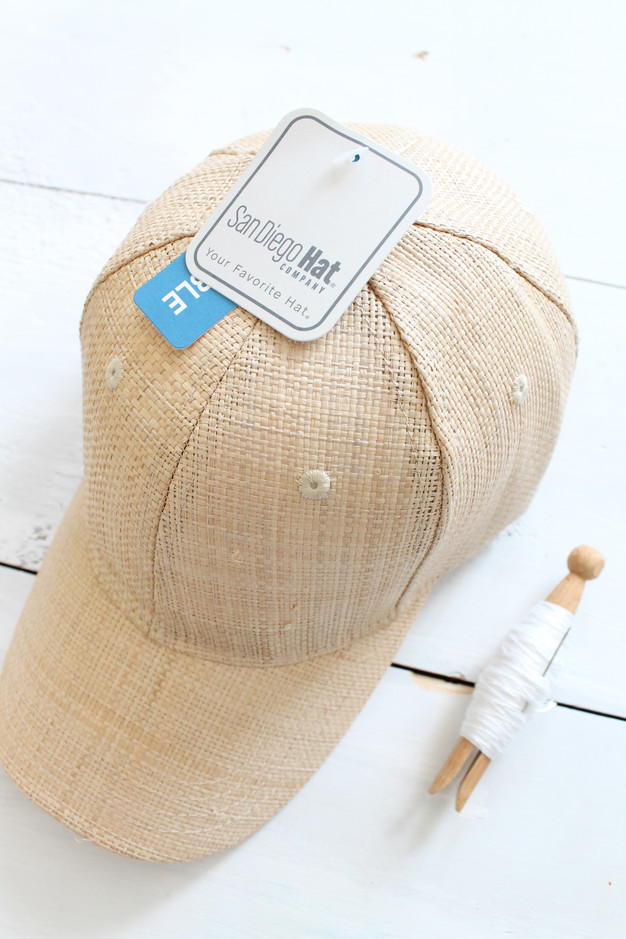
Take me out to the ball game....just so I can eat all the hot dogs and popcorn and beer. No really--that's what we did a few weeks ago when Ian got free tickets to a Yankees game! My lack of game-appropriate apparel led to the inspiration of this project--a cute baseball hat! It's practical for summer but combines two of my favorite textures: raffia and embroidery. You can make your own from a hat you already own or from a fancy raffia one like this one my friends at the San Diego Hat Company sent me to play with! See how I did it below!

Make an embroidered baseball hat

What You'll Need 

Embroidery Floss (I used the heavier 2-ply)
Thick embroidery needle (not the blunt yarn needles)
Scissors 
Baseball Hat (Find the one I used here)

Make an embroidered baseball hat
1. Thread your needle with a single length of yarn and double knot the end.  Don't make it too long or you'll get frustrated trying to untangle it while you work. 

Make an embroidered baseball hat

Make an embroidered baseball hat
2. Sketch flowers and leaves lightly with a pencil or freehand floral motifs with straight stitches or chain stitches. Knot off each flower individually to avoid pulling and snagging on the inside of the hat.

Tip: Avoid stitching on the bill of the hat if this is your first embroidery project--this was challenging for me, but I like an asymmetrical look.

Make an embroidered baseball hat
Need inspiration or how-to's for stitches? Check out my stitches pinterest board!

xo Lindsey Crafter

Product was provided for free for this post by the San Diego Hat Company. All content, ideas and opinions are my own. Thanks for supporting the brands that keep Lindsey Crafter goin'!

Latest Instagrams

© LINDSEY CRAFTER . Design by Fearne.