Craft Tutorial & Styling by Lindsey Crafter | Photography by Laura Barnes Photo
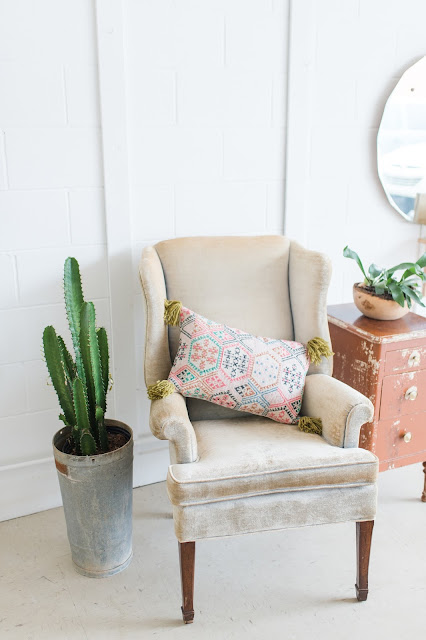
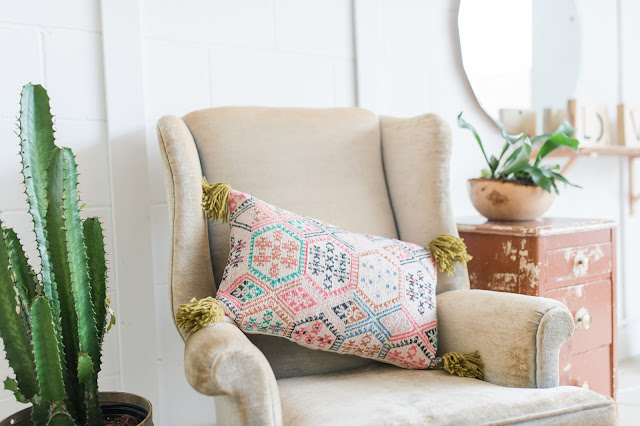
The second I saw this pink kilim style placemat at Target I KNEW it could live another life as a trendy Anthro-style pillow instead. I purchased it for $5 and then it sat in my trunk for about two months while I was totally NOT into making anything. After meeting my new friend Laura, I dug through my project lists and called her up to shoot a wonderfully easy sewing tutorial for you all. The results are FANTASTIC! Scroll down for the detailed steps.
Olive green tassels make a great finishing touch!
Get The Look (Affiliate Links)
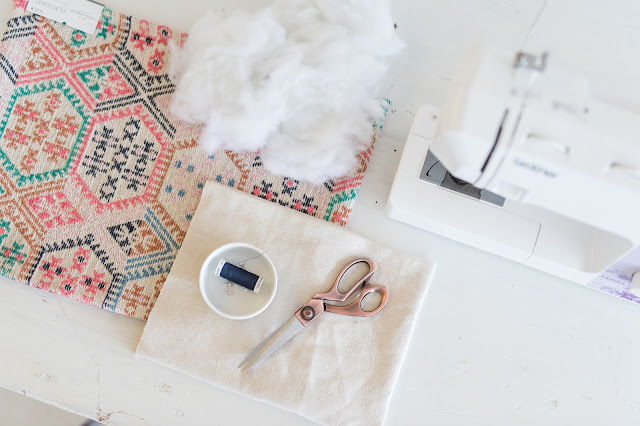
This project can be completed in under an hour if you have all the materials on-hand! I recycled poly-fill from a lumpy throw pillow and a scrap of drop cloth I already had in my studio.
Things You'll Need
Drop Cloth or Canvas Fabric
Poly Fill
Coordinating Yarn for Tassels
Fabric Scissors
Straight Pins
Hand Sewing Needle
Sewing Machine and Coordinating Thread
Iron and Ironing Board
1. Rip Out the Seams
Using a seam ripper or sharp fabric scissors, carefully snip out the stitched seam on the back of the placemat.
2. Iron Flat
Use an iron to press down the rolled edges, trim any loose threads or uneven edges.
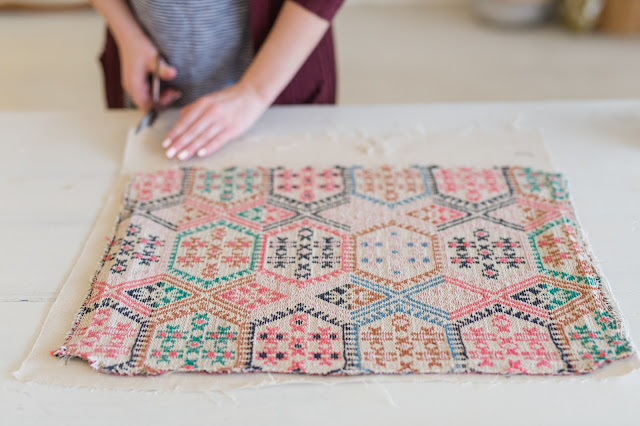
3. Cut the Back Piece
Iron the fabric for your pillow backing and align the placemat on top.
Cut around the placemat using it as a pattern piece for the back of the pillow.
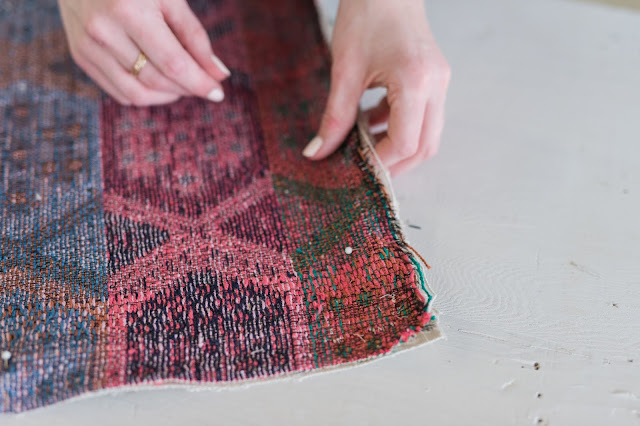
4. Pin Pieces Together
Align both the front and back pieces of the pillow with the wrong sides facing out, and the printed side facing in.
After the edges are aligned place pins every few inches along the edge to keep the pieces from shifting while you sew.
5. Sew Pieces Together
Thread your sewing machine with coordinating thread and begin sewing the two pieces together with a 1/2" seam allowance. Don't forget to back-stitch at the beginning of each stitch so your seams don't unravel! Leave a 6" opening along the bottom edge of the pillow to invert the case and to add stuffing.
6. Trim Corners
Carefully trim each corner at a 45* angle, this will eliminate extra material and make your corners nice and crispy when you invert!
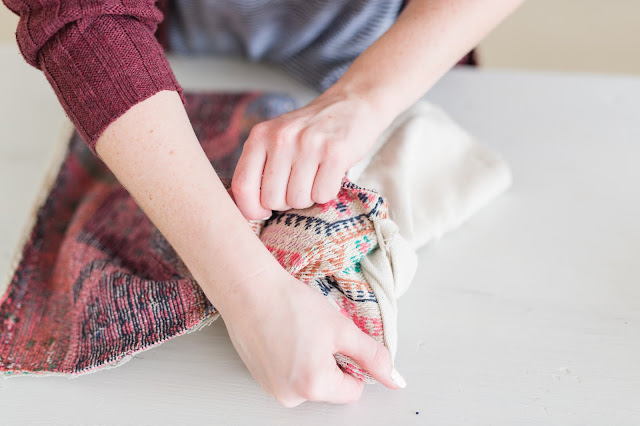
7. Turn Inside out and Iron Flat
Reach inside your pillow case grabbing a adjacent corner to pull and easily invert without ripping stitches. Slowly work the fabric inside out and point out all the corners using your fingers or the eraser end of a pencil.
Press all seams and corners flat with an iron.
8. Stuff!
Fill the pillow with poly fill, making sure you work it into the corners. Even if it feels "full" be sure to overstuff to keep it from looking saggy or flat.
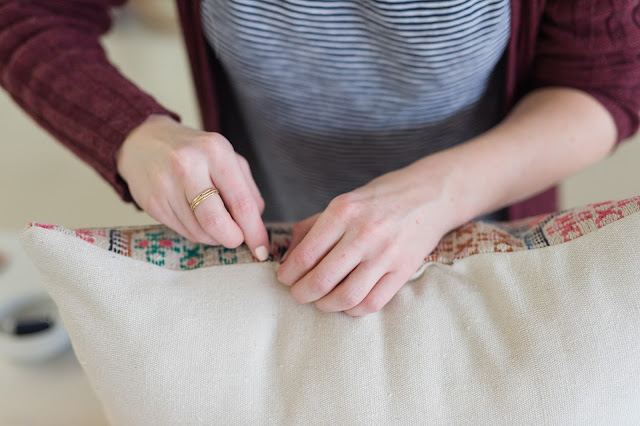
9. Sew up Opening
Fold in the raw edges 1/2" and use straight pins to keep the fabric together while you hand stitch the opening closed.
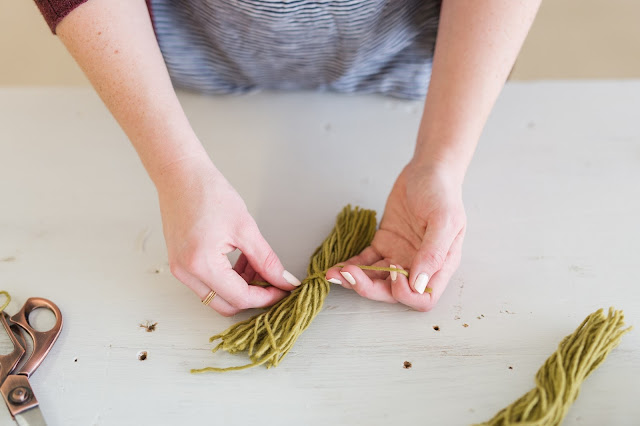
10. Make and Attach Tassels
Wrap a contrasting yarn around your fingers to make small bundles.
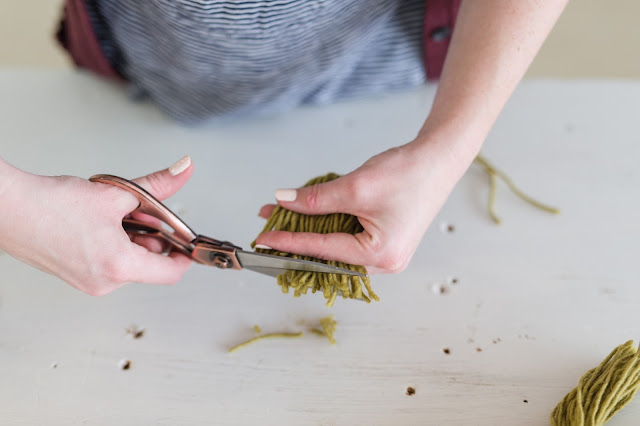
Tie off in the center and trim the uneven ends to make fun tassels you can sew onto each corner of the pillow
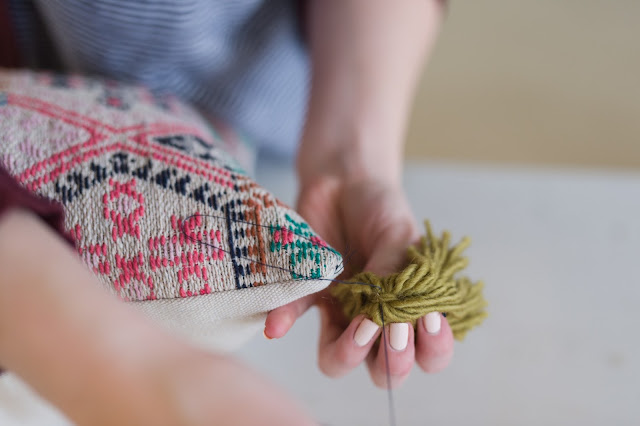
Attach tassels with a needle in thread by looping it through the yarn of the tassel and through the fabric of the pillow at each corner.
All done! Now fluff and style!
I'm tickled with the final product! Tag me on Instagram @lindseycrafter if you try this hack!
xo
Lindsey Crafter
xo
Lindsey Crafter
I've linked comprable placemats below (affiliate links)














Wow! Every room in my house could have new pillows. Such a great idea 😊
ReplyDeleteIsn't it so easy?! Be sure to tag me if you try!
DeleteVery nice job! You showed us how to take bargain priced placemats and change them into beautiful pillows! Love it. Thank you for sharing Lindsey!
ReplyDeleteThanks Carol! It's a great sewing project for beginners!
DeleteThanks for sharing such a wonderful idea
ReplyDeleteThis was a great idea! And so easy to make.Thank you!
ReplyDelete