- Happy Monday!
- Did you vote for me today in the the Mrs. Meyer's Hunt for the Next Home Maker?
- I've partnered with Teluna and their gorgeous colorful prints to bring you a cheap and cheerful DIY! If you're like me and can't stand to throw out small cuts of wallpaper or wrapping paper this is the PERFECT project for you.
Here's what you'll need to create a cute patterned tray out of salvaged materials!
A wooden tray-- purchased, thrifted or re-purposed!
Decoupage in your choice of high-gloss or satin finish
Paintbrush
Scissors
Straight edge
Pencil
Credit card or squeegee
Patterned wallpaper or wrapping paper -- I'm using Pampered Palms removable wallpaper by Teluna
1. Measure the interior dimensions of your tray and trace the shape with a square edge ( I used a ruler and the square corner of my tray)
2. Cut out the lining piece with scissors and check the fit in the interior of the tray. Trim edges as needed.
3. Apply a thin coat of decoupage glue to the surface of the tray-- be sure to apply in all the corners!
4. Line up the first edge of the paper lining and press onto the surface of the tray. Use your squeegee to remove air bubbles by pressing from the center out --working back and forth like a typewriter.
5. Allow your tray to dry before applying several coats of decoupage to the surface of the paper to protect it from scratches and dust. Apply a water-proof sealer if you intend to use your tray for drinks or anything that might accumulate moisture!
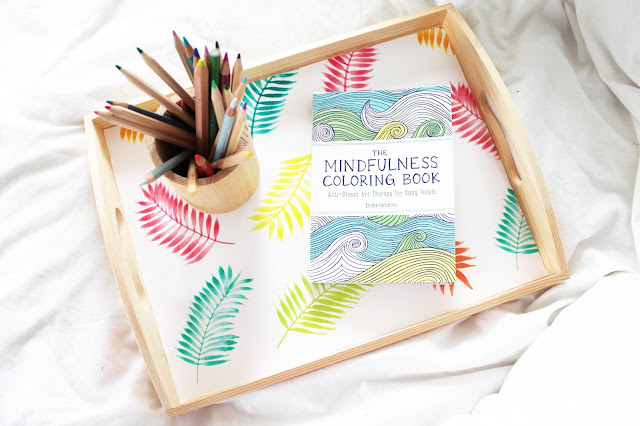
Isn't this a punchy print? Check out their range of removable wallpaper and other patterned goods-- a percentage of their proceeds are donated to causes around the globe!
xo Lindsey Crafter
xo Lindsey Crafter


Post a Comment