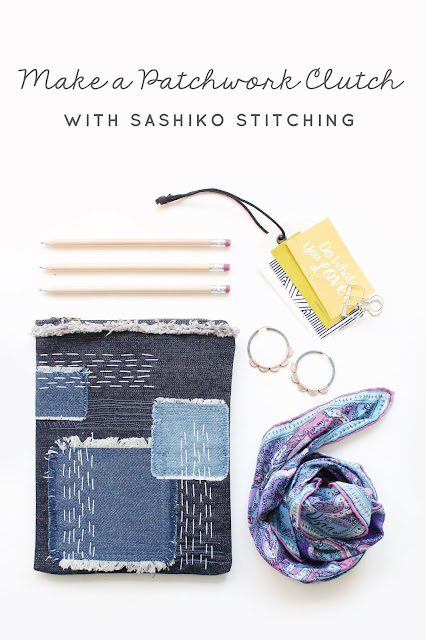
Scraps of Jean, chambray or linen fabrics
Jean Patches
Jean Patches
Fabric Scissors
White Embroidery Floss
Needle
6" Jean Zipper
Straight Edge or Ruler
Iron
Pencil
Sewing Machine
Straight Pins
1. Cut Pouch Pieces
Cut a large rectangle piece of denim roughly 15" x 11" or to accommodate your zipper (with 1" seam allowance). Iron in half so that there is a pressed side seam. This will be the front/back of the pouch. If working with old jeans or smaller scraps you can cut two rectangles of denim and sew up the three sides to complete your pouch when you're done with your patches and embroidery. If you're not an experienced seamstress I would recommend cutting two separate rectangles for your pouch front/back as it will make installing a zipper easier.
2. Create Patch Pieces
Use a needle to pick out threads from the edges of the jean patches until the edges are significantly frayed. I found a great pack of jean patches in various color ways at the craft store for under $5 dollars so I didn't have a lot of material left over. Experiment with sandpaper and bleach to distress your patches further!
3. Pin Patches in Place
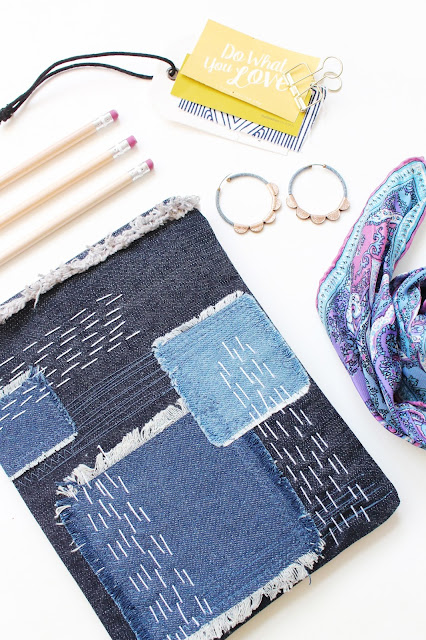
Play around with the patch placement and overlap different fabrics and shades of denim to create layers. Once you're happy with their placement pin each patch in place with several straight pins so they don't shift around while you're sewing.
4. Top Stitch Patches
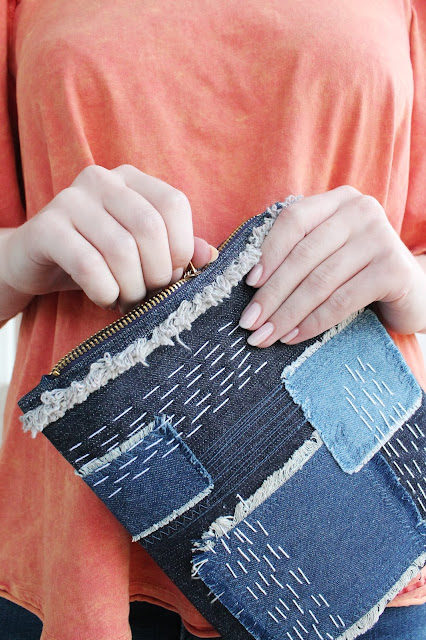
Use a zig zag stitch around the edge of the patch to secure each piece in place. Use various stitches to sew straight lines back and forth over the denim fabric to create textures.
5. Sew on Zipper
Pin the zipper in place along the top of the pouches edges and stitch down. I folded over the raw frayed edge so that the selvage was exposed on the exterior of the pouch. You may need to unzip the zipper to be able to stitch a seam on your sewing machine.
6. Sew Up the Sides
Turn the pouch inside out and stitch a 1/2" seam around the edges of the pouch, reinforcing the corners. Trim off any loose threads before turning the pouch right-side out.
I can't wait to see how this pouch will get better with a little wear!
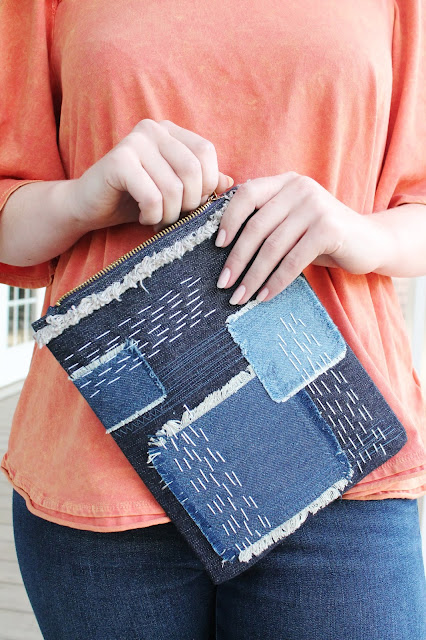
Style as a cute clutch or toss in your purse to catch receipts and other clutter.
Happy Crafting!
Lindsey Crafter


Beautiful! I've featured your tutorial on Craft Gossip here: http://sewing.craftgossip.com/tutorial-sashiko-denim-patchwork-clutch/2017/01/11/ --Anne
ReplyDeleteThanks so much Anne! I've been using this sturdy pouch every day!
ReplyDeleteThis is such a fun way to use Sashiko stitching! I have a popular Sashiko round-up post on my blog that I update occasionally. I'll link to this project soon!
ReplyDeleteToo fun! Can you link to it here? I'd love to see it! It's such a fun and easy stitch for adding texture!
DeleteThanks! If you'd like, I'll include the photo of your finished project. I'm sure it will get more traffic that way :)
Deletehttp://radianthomestudio.com/best-sashiko-embroidery-tutorials-projects/
Check the bobbin out. (That's the tiny "spool" sitting below the needle.) Metal spools will last longer and are readily available. best mini portable sewing machine
ReplyDeleteThanks for sharing this quality information with us. I really enjoyed reading. Will surely going to share this URL with my friends. best sewing machine
ReplyDeleteOn the off chance that more individuals that compose articles truly fretted about composing extraordinary substance like you, more perusers would be keen on their compositions. Much obliged to you for thinking about your substance. Janome hd1000 vs hd3000 Which is better?
ReplyDelete