

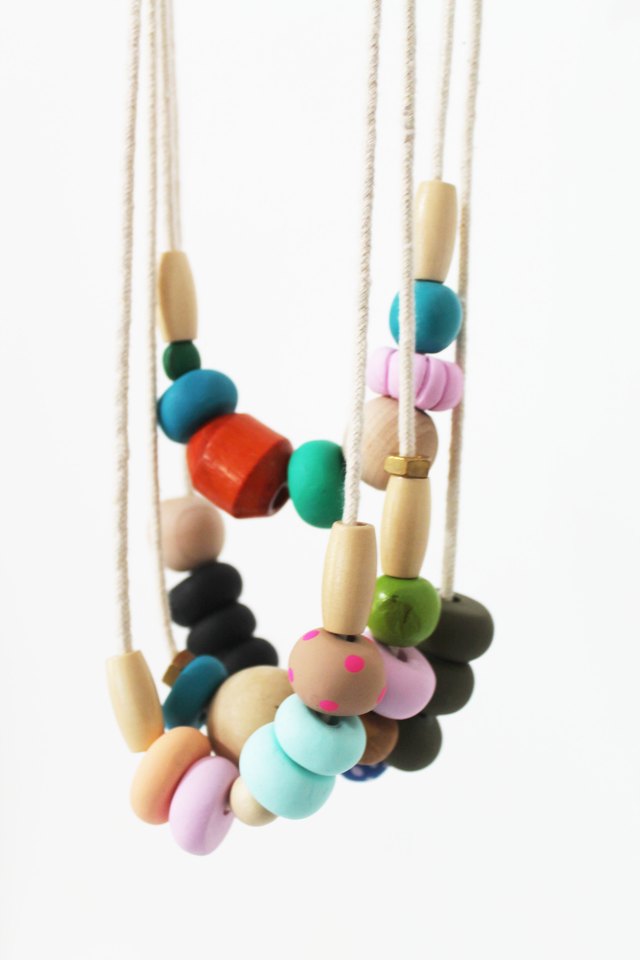
Statement necklaces are the hottest summer accessory -- and easy to make! Use polymer clay to create large colorful beads and string tropically inspired jewelry. Make a large batch of handmade necklaces to give as economical gifts and party favors.
WHAT YOU'LL NEED:
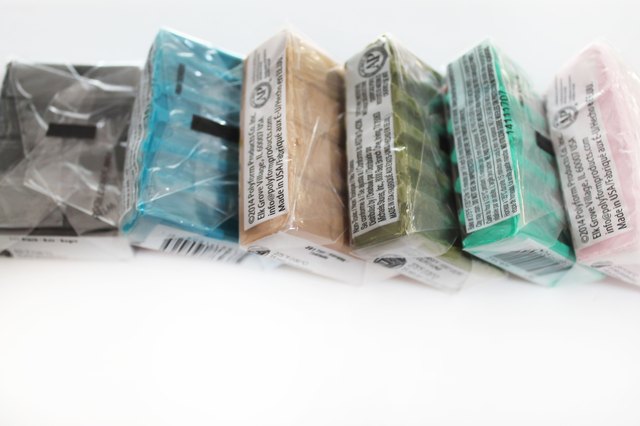
- Bake-able Polymer Clay in Various Colors
-
Bamboo Skewers or Toothpicks
-
Clay Sculpting and Cutting Tools
-
Clear Sealer
-
Cotton or Nylon Cord
-
Scissors
-
Wood Beads
-
Brass Washers or Hex Nuts
-
Cookie Sheet
-
Parchment Paper
-
Optional : Silicon Mat
READ MORE PROJECTS BY LINDSEY ON EHOW
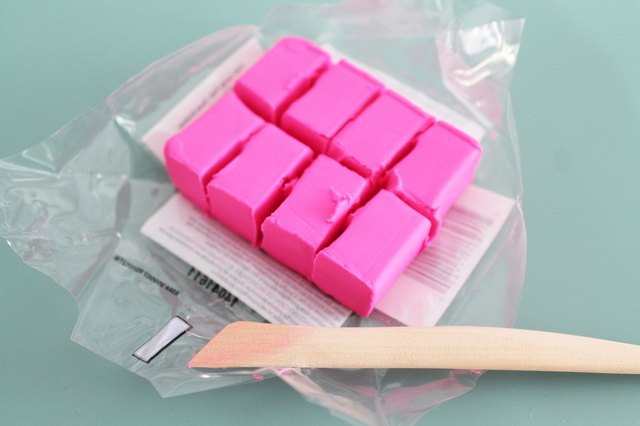
Step 1: Prep Your Work Area & Materials
Work on a piece of parchment paper or silicon mat to prevent clay residue from staining surfaces. Be sure your work surface is free of dust-- debris will stick to unbaked clay and lighter colors will show lint easily. Use a knife or cutting tool to cut workable pieces of clay and knead in your hands to soften.
Step 2: Make Small Beads
Roll small pieces (16th cuts) into balls and flatten with your hands to a 1/4" thickness. Use a coring tool or toothpick, pierce a hole through the center of the bead and set aside for baking.

Step 3: Make Large beads
Roll a 1/8 piece of clay into a ball with your hands and set aside. To create Polka Dots pinch off small bits of clay in a contrasting color and roll into small balls. Space evenly, and roll in your hands to flatten into dots.


Step 4: Coring Beads
Create two flat sides by pressing the sphere with your fingers or a flat surface (I used a ruler). Using a bamboo skewer or coring tool create a hole through the center of the bead large enough to string a thick cord through it.


Step 5: Baking
Space beads evenly on a cookie sheet lined with parchment paper and bake according to directions on packaging.

Step 6: Stringing
After your beads have baked and cooled they're ready to string! Baked beads have a matte finish--if you're looking for shine just add a coat of gloss sealer and let dry before adding to a necklace.

String your handmade beads along with wood beads on your choice of cord. Use brass washers or hex nuts from the hardware store for alternative spacers. Symmetry is optional -- add eight to ten large beads to a cord, tie ends in a knot and wear!


Post a Comment